Setup Tips
T8L ELRS Setup Tips For New FPV Learners
Learn the basics of battery setup, USB-C connection, simulator readiness, and what to check before ordering.
Check Compatibility Before Ordering
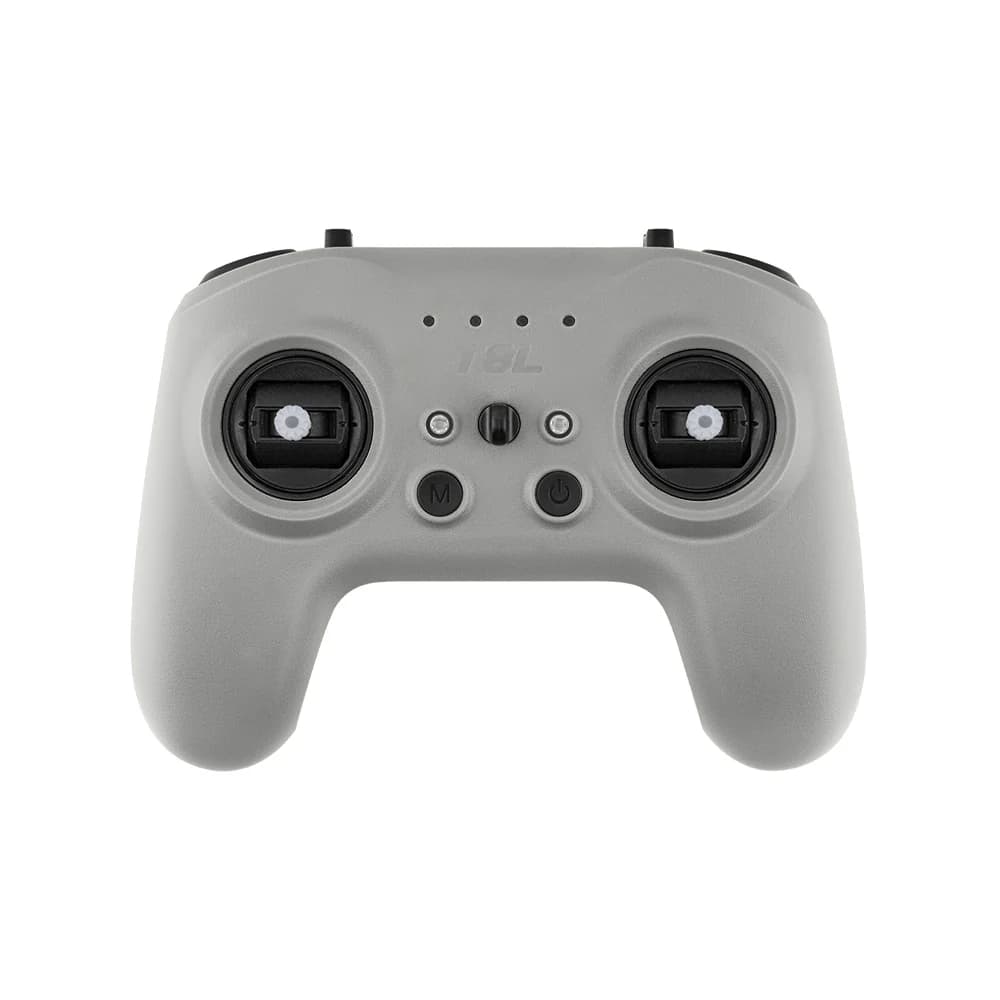
The most important beginner check is compatibility. The T8L ELRS controller is made for FPV, RC and ELRS-based builds. It is also useful for simulator learning. It is not designed for DJI Mini, Mavic or Air series drones.
That means you should order it only if your plan is simulator training, ELRS receiver pairing, RC car or plane projects, or an FPV build path.
- Good for FPV simulator practice.
- Good for ELRS-based drone builds.
- Not for DJI consumer camera drones.
Battery, Charging And First Power-On
Because the current NexRotor offer includes the battery, beginners can get into setup faster. Before the first practice session, fully charge the controller with USB-C and confirm the battery is seated properly.
A short pre-check helps avoid confusion later. Power on the radio, verify the sticks move freely and make sure the trims and switches are in a neutral starting condition.
- Charge fully with USB-C before the first session.
- Confirm battery connection and radio startup.
- Keep the user manual and setup support notes nearby.
Simulator Readiness Checklist
Once the controller powers on, connect it to your practice device and open your simulator. If the app sees the radio, run stick calibration immediately. Many beginner control problems come from skipping this step.
After calibration, test each channel slowly and confirm the controller feels comfortable in hand. The T8L is lightweight, which helps new users practice longer with less fatigue.
- Connect by USB-C.
- Run simulator controller calibration.
- Test throttle, yaw, pitch and roll one by one.
- Ask for Bangla setup help if anything feels unclear.